|
|
NOTE: I am now using a digital camera for
my updates. If you view the individual pictures, they will be twice as
big. I know it makes for a longer download but I believe the additional
clarity will be worth it.
|
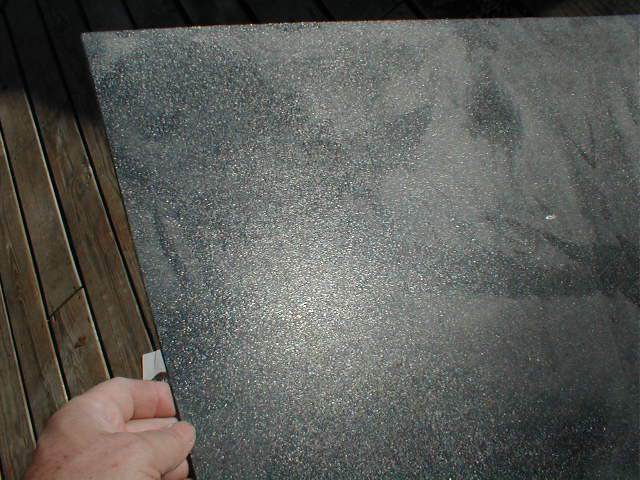
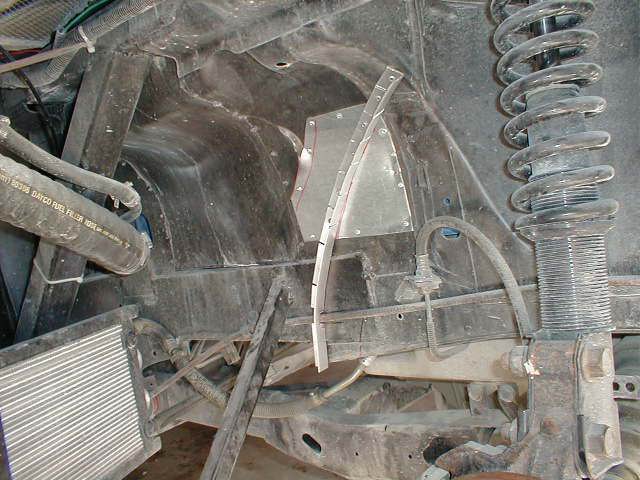
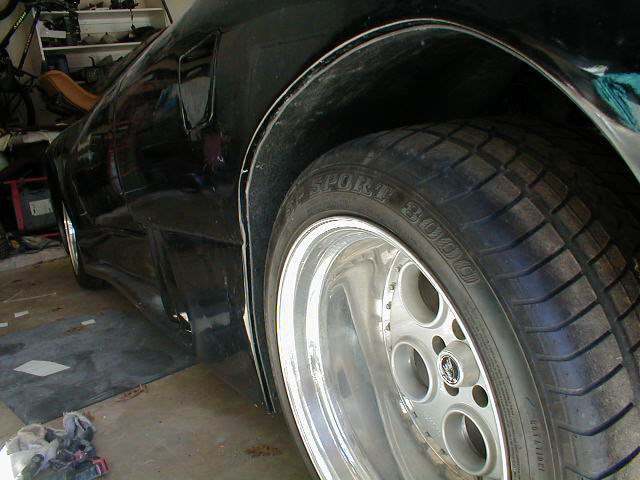
| Began work on the rear wheel wells. I am using a
sheet of 1/8" ABS that has a texture on one side and smooth on the other
side. I started by making a template from poster board of the area next
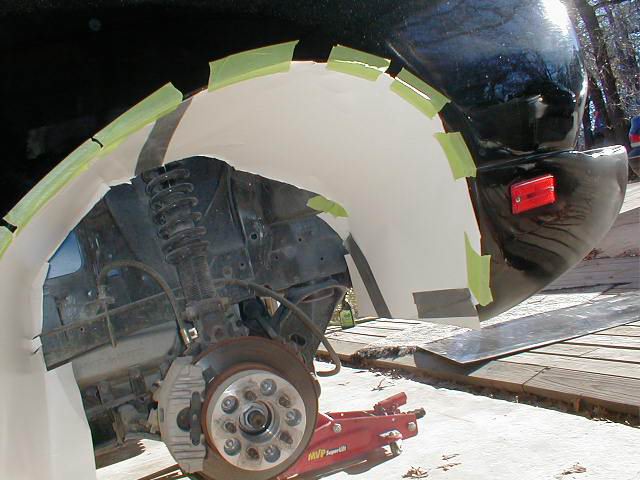
to the engine. I determined that I would need a piece 5' x 24". I planned
on fastening the ABS with counter sunk screws. The screws would need to
be fastened to something besides the fiberglass. I use a 1" x 1/8" flat
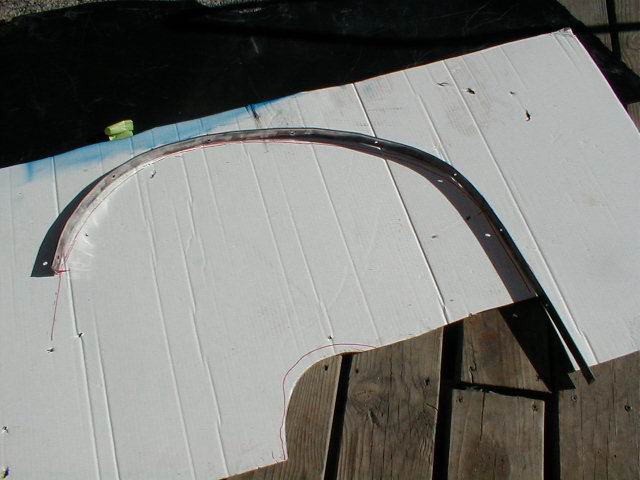
stock that I bent to a template of the wheel opening. I then bondoed this
inside the wheel well. This would be much easier to do when the body is
off. I use 3/4" aluminum angle iron and fatened that to the inner wall
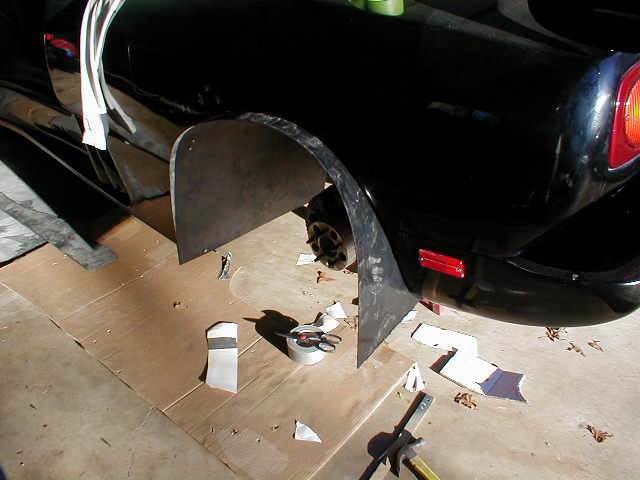
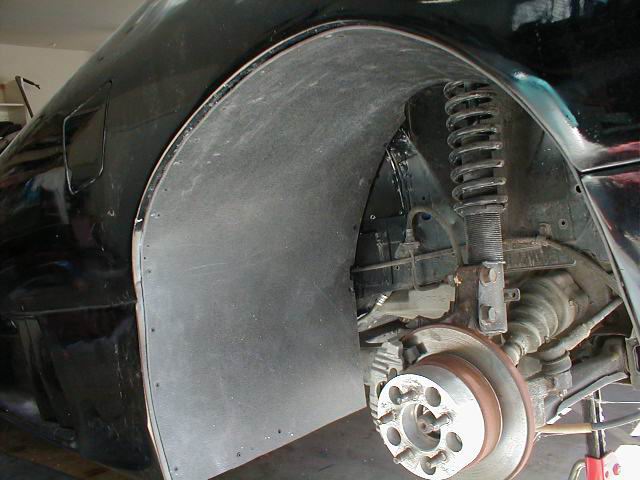
to be used for securing the inside of the ABS. Once this was done, I cut
the ABS using the pattern for the inside. I then temporatily screwed it
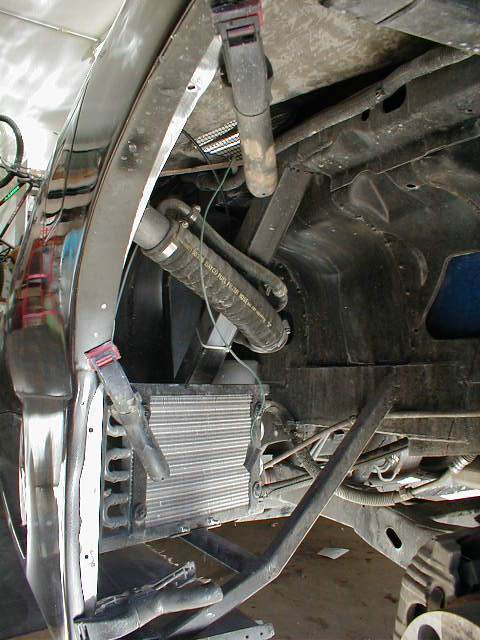
in place leaving the edges hanging out. I scribed the ABS along the body,
removed it and then cut the ABS about 1/2" shorter than the scibed line.
Using a drill to drill the holes and counter sink the screws, I fastened
the ABS in place to the metal. It turned out very well. Almost finished
with the passenger side. |
 |
|
|
|
|
|
|
|
|
|
|
|
|
|
|
|
|
|
|
|
|
|
|
|
|
|
|
|
|
|
|
|
|
|
|
|
|
|
|
| |
| |
| |
|
|
| |
|
| |
|