|
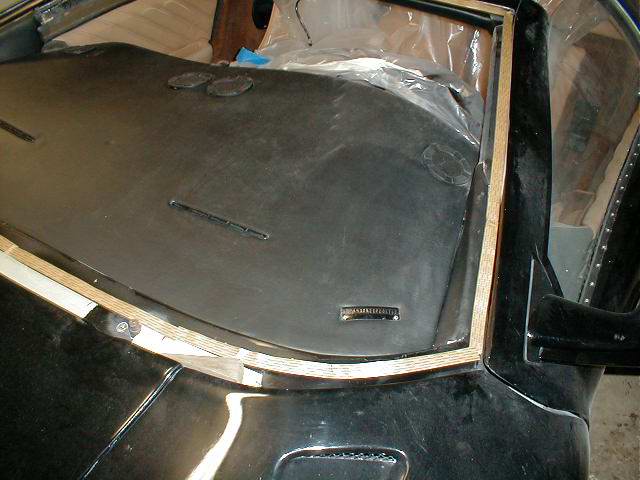
Test fit the
windshield and make sure you have a good fit all around. Check
the clearance on the doors when they open. I had to grind a
little off of the inner panel to avoid rubbing. Make sure you
have clearance for the wiper motor so it doesn't hit the glass.
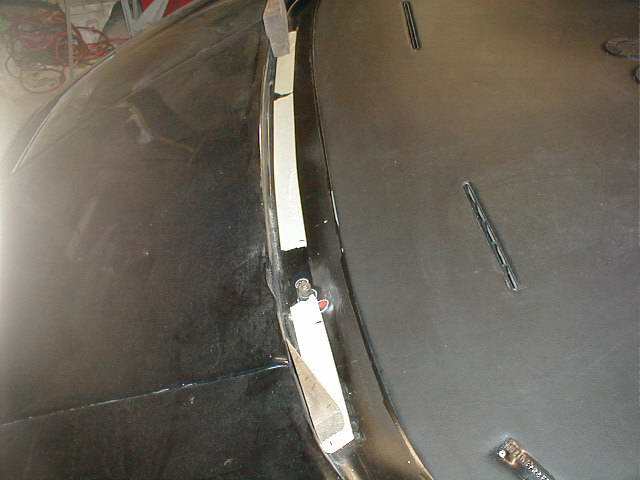
I marked the edge along the bottom where the glass would set
with masking tape. I used butyl window tape (3/8") and
laid a ribbon around the opening. Hind sight I wish I would have
put a metal clip along the bottom edge to prevent the windshield
from slipping down. Not sure that it will but I don't want it to
hit the wiper motor arm. I hurried because the weather was
turning colder. I should have used a heat lamp and taken a
little more time.
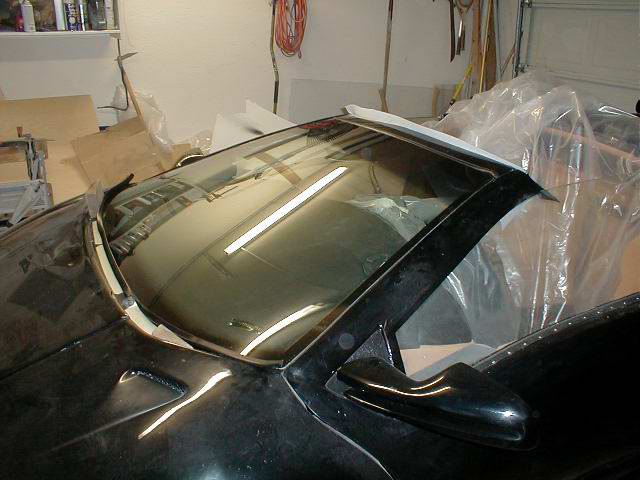
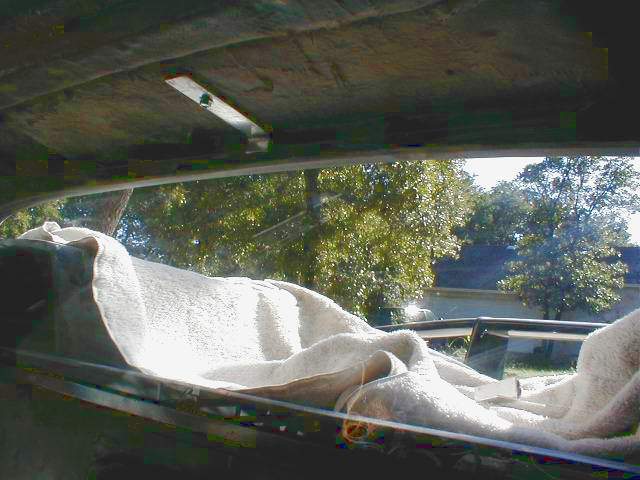
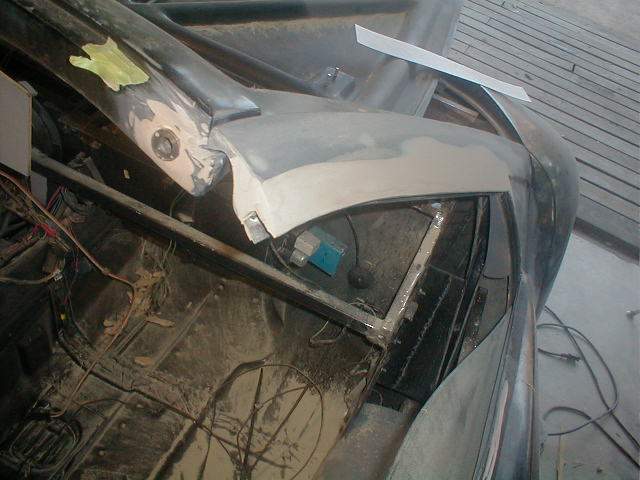
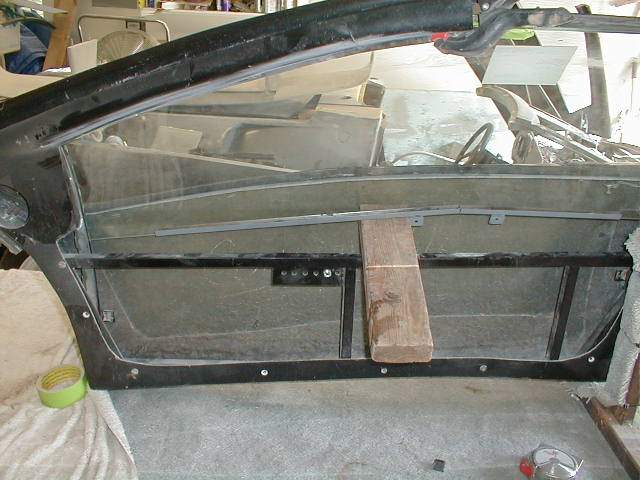
I've had requests for close-ups of the window clearance with the roof
on. Unlike a real lambo which retracts the windows before the door is
open, the windows will seal against a rubber seal along the roof edge. I
have not installed the seal yet. The doors open with the windows up and
just clear the roof.
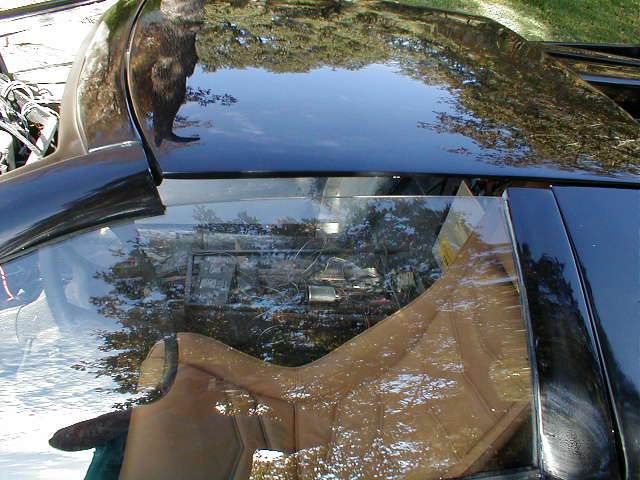
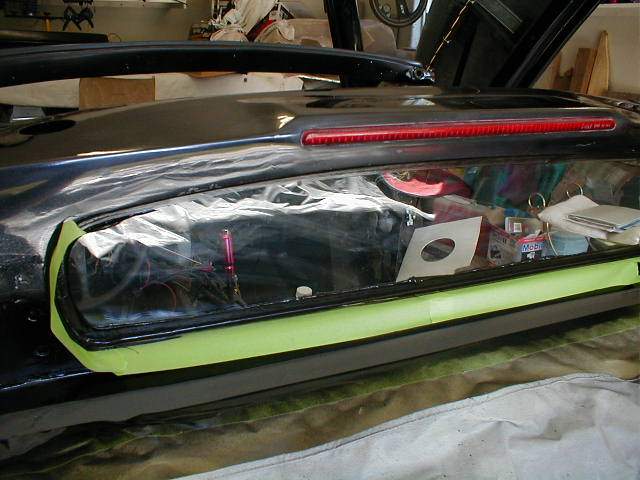
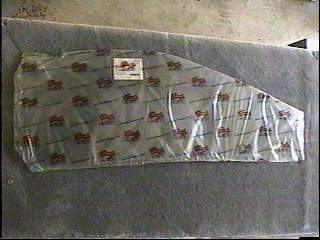
I traced the opening of the rear window on to the glass. I then masked
off the inside of the glass and painted it black. I reinserted the window
and then used black silicone sealant around the edge from the outside. I
need to now scrape off the excess with a razor blade.
 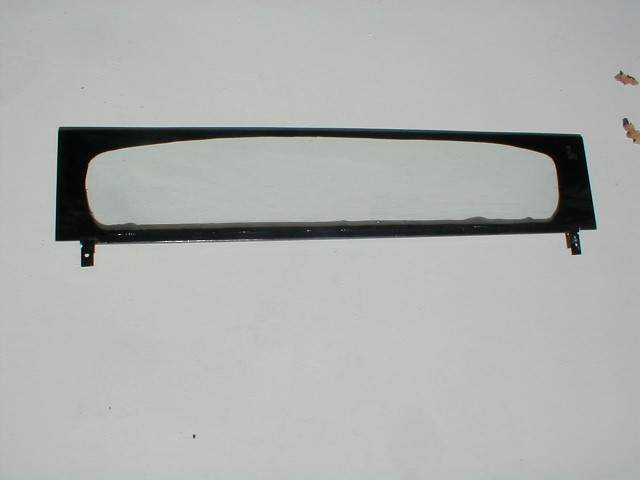
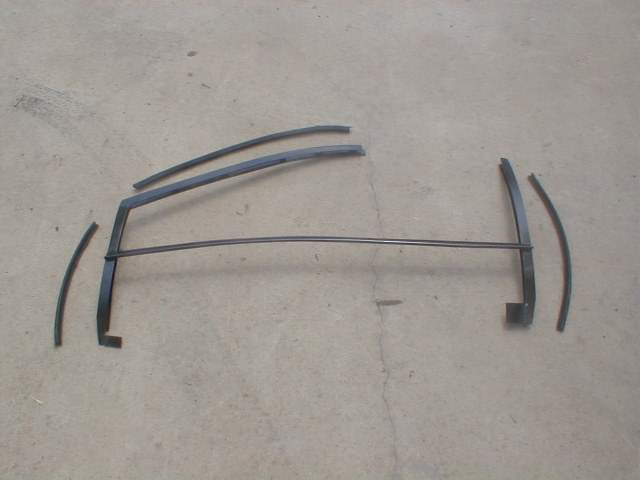
Installed the rear window. I started with a straight piece of window
channel and welded tabs on the bottom. I seated the window in the
channel in silicone sealant. I fabricated brackets using foam padding that
will hold the top of the window against the top of the window opening. I
will seal the edge from the outside with black silicone window
sealant.
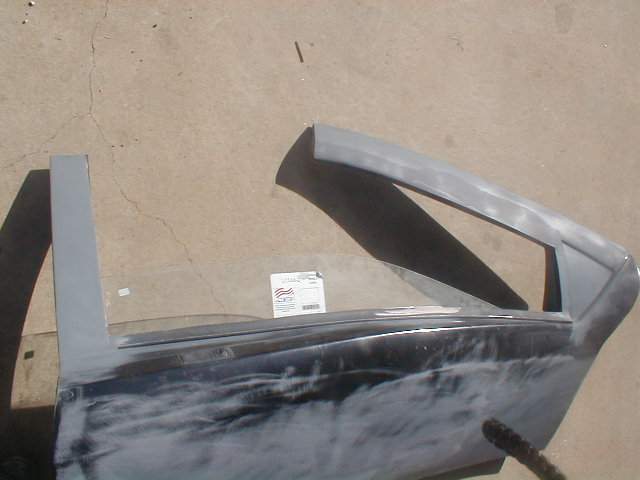
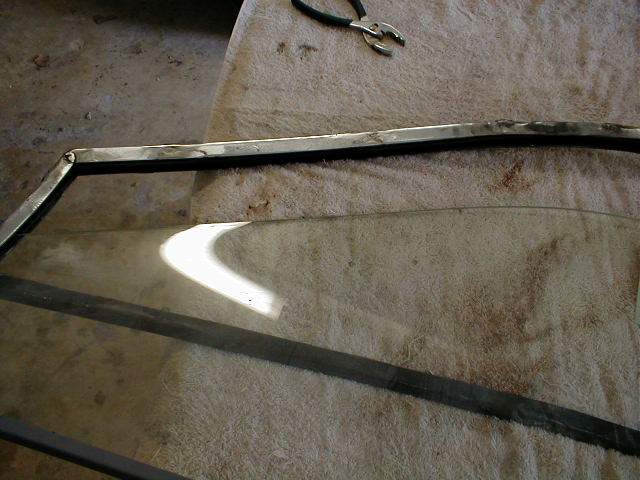
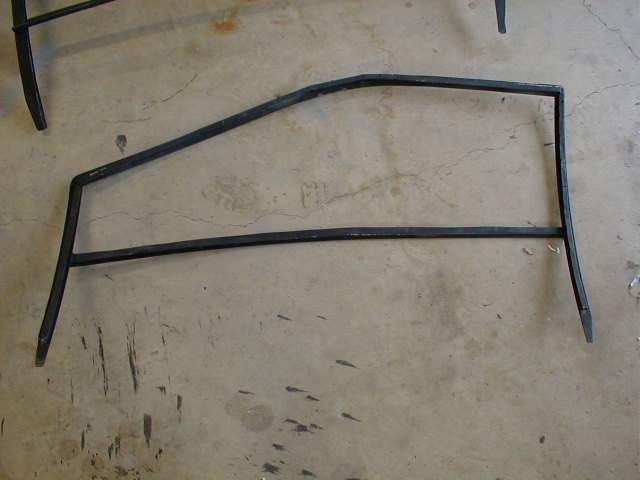
Finished the frame for the passenger side (before my accident). Turned
out real good
 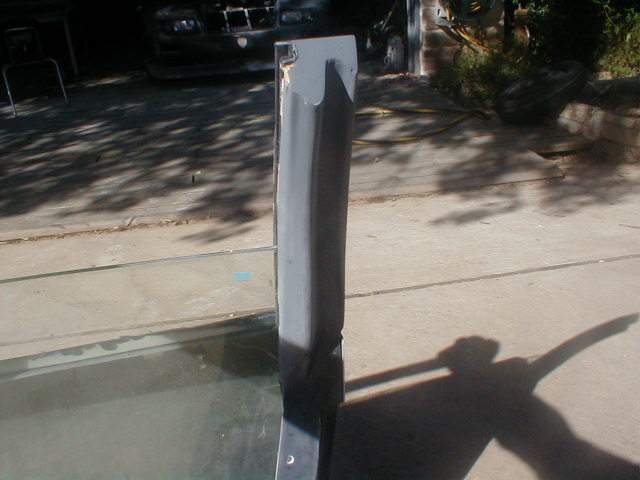
Window frame for drivers door. Hopefully will have it installed next
weekend. Lost three days for not using safety glasses. Stupid on my part
but I can't get dust in my eye. Maybe next weekend.
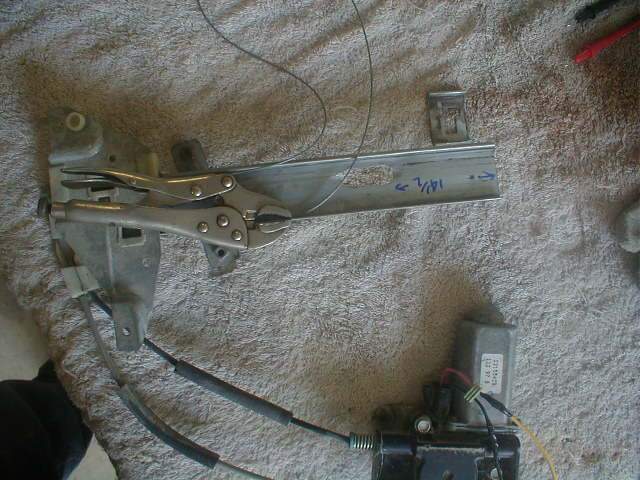
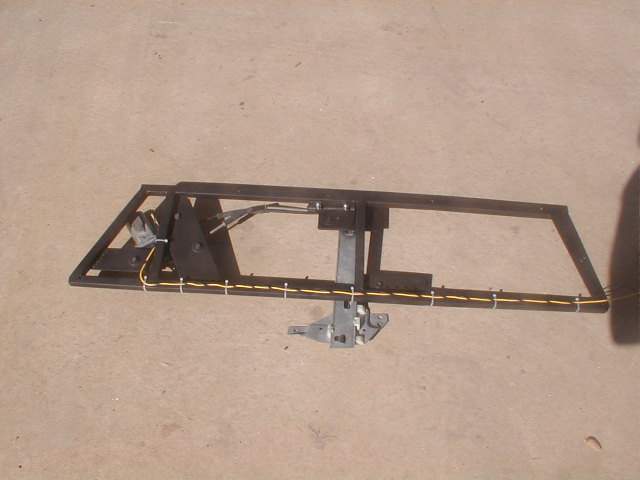
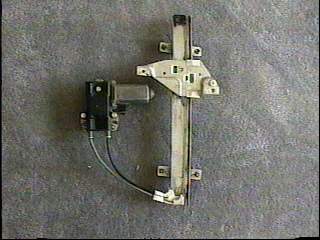
The window motor assembly consists of a slide that is pulled by cables
up and down a track. To make them fit the window in the Diablo, it is
necessary to shorten the track. The length is 14.5" You will have to make
a new slot to hold the cable assembly. Prior to cutting the track, clamp
the cable to the side so it does not unwind in the spool and jam the
assembly. (Experience talking) Cut off the track and then use the top as a
template to make a new groove to hold the cable assembly. After the
assembly is inserted into the track, you will need to tighten the
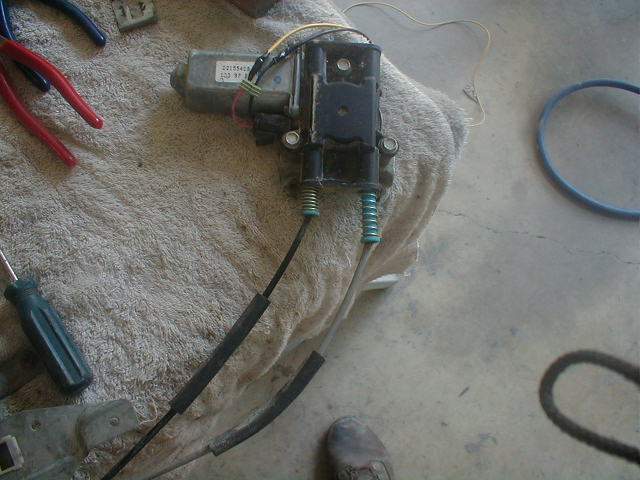
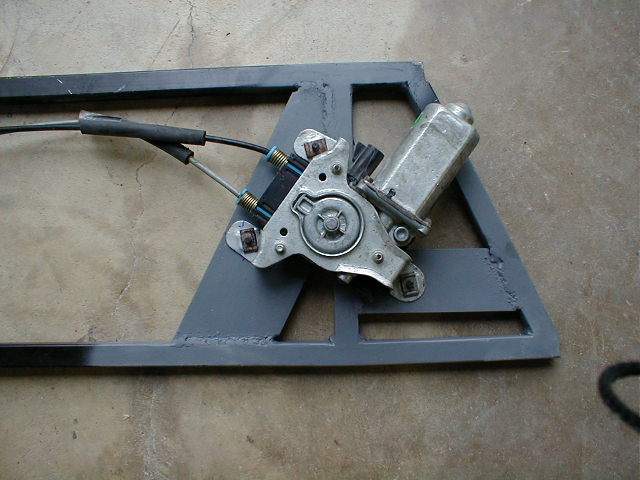
remaining cable and then clamp it off and remove the excess. Notice the
springs on the motor assembly. They should have some tension on them at
all times. Once the cable has the proper tension, use a clamp to make the
cable tight and then remove the excess cable. The assembly is then bolted
to the frame for insertion into the door.
 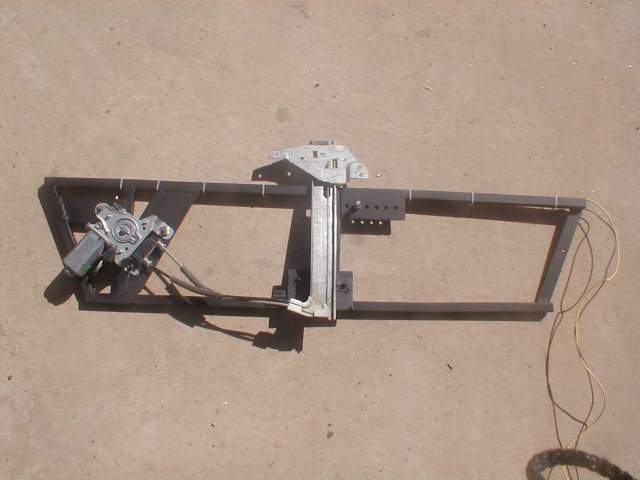
I added flat bar to attach the motor to the door frame. The glass
clears the motor by about 1/4" but that is enough.
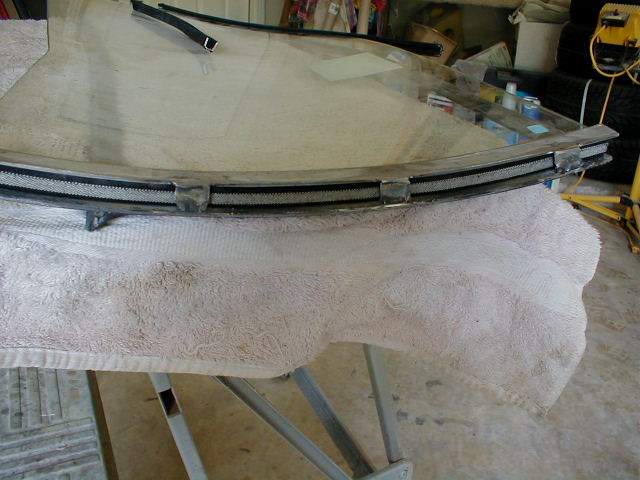
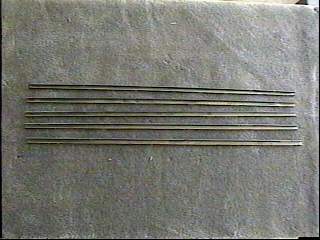
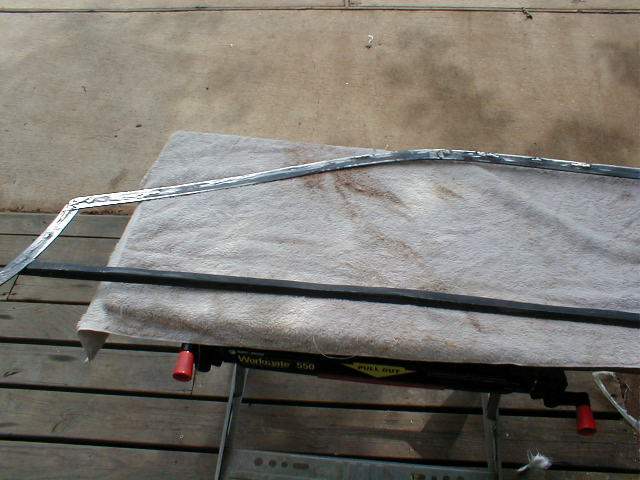
I started by taking small sections of the window channel that I got
from JC Whitney and putting it on the glass. I set the glass on the frame.
I had bent a piece of flat bar to match the contour of the glass. I set
this piece on top of the channel. I clamped it in place and slid the glass
out. I then welded the top channel to the bottom channel using small
pieces of flat bar. I cut a piece of lined channel the proper length and
inserted it into the new fabricated channel. I inserted the glass back
into the new channel and did the same exercise for the other end. There
are two rules to remember, 1. Glass does not bend therefore make
everything fit the glass. 2. Keep the frame as one piece until all pieces
are securely fastened.
 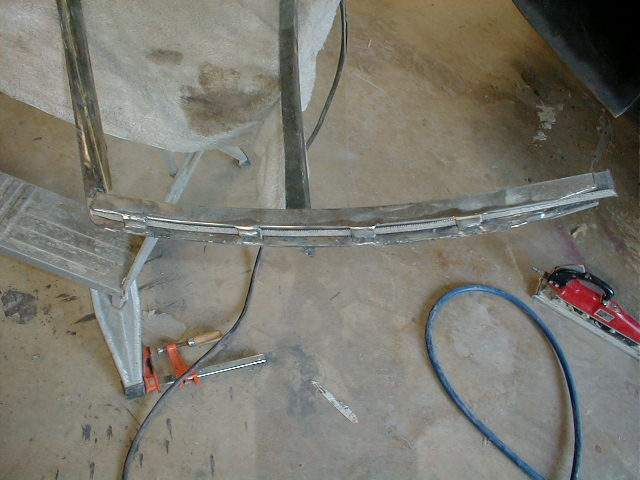
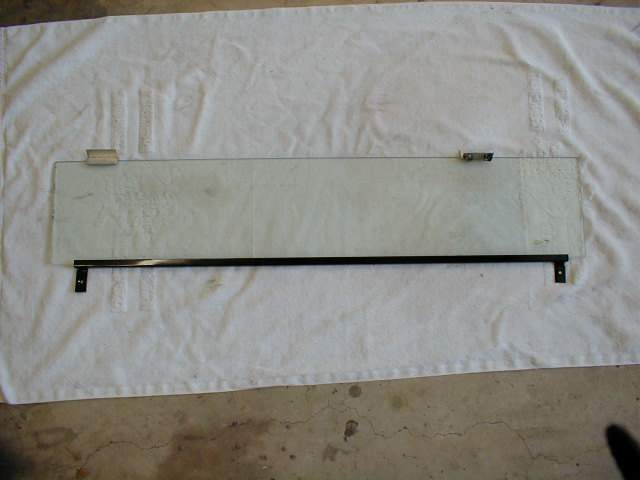
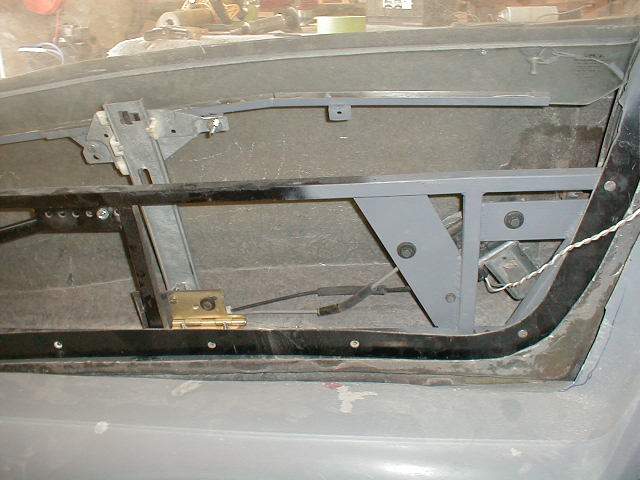
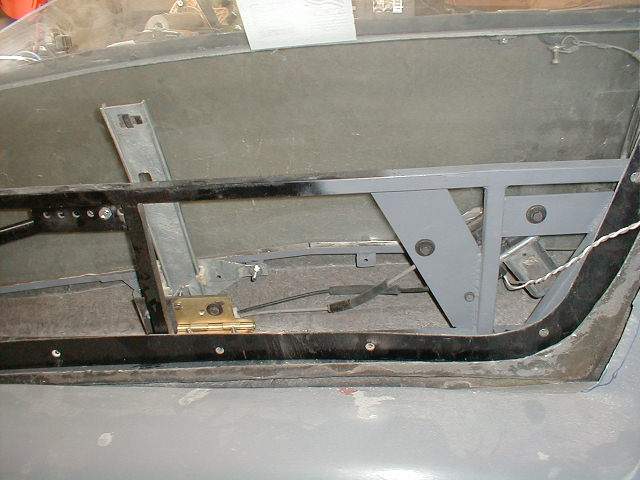
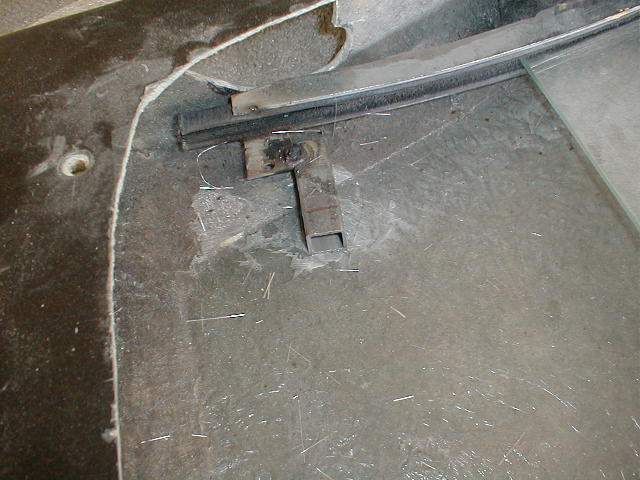
I took a piece of the original u channel and bent it to fit the bottom
of the glass. I welded two tabs onto the metal channel to use for
connecting to the window mechanism. I have since found out I put them in
the wrong place but I will come up with something that will work. I
secured the ends of the channel to the inside if the door welding a tab to
a square tube and then glassing the tube to the inner door panel. Bottom
pictures show the window without the innner door frame and the roof
section of the channel has been removed. I have more bondo work to do. It
is just roughed in at this point.
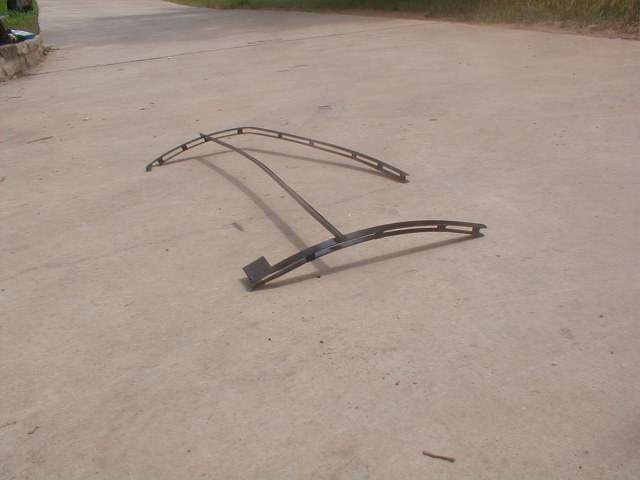
Received the window frames from IFG. Hopefully will start working on
my windows soon.
|
| | | | | | | | | | |