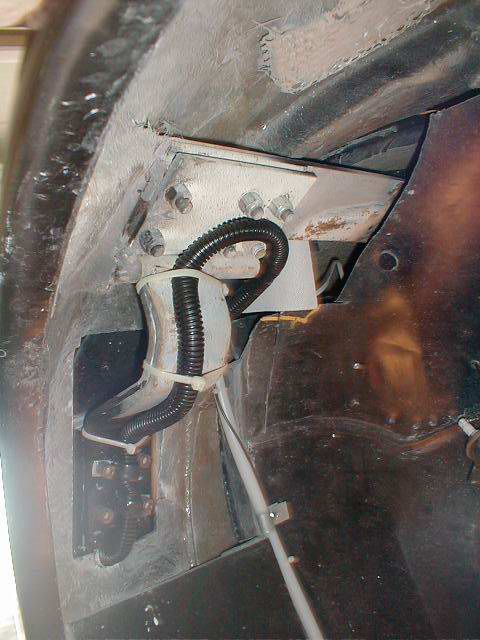
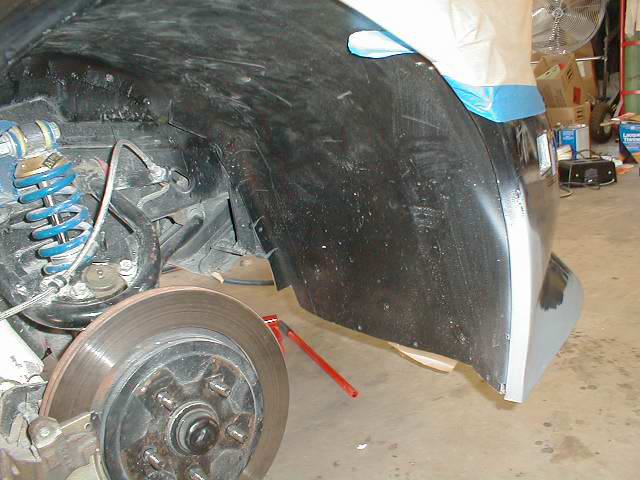
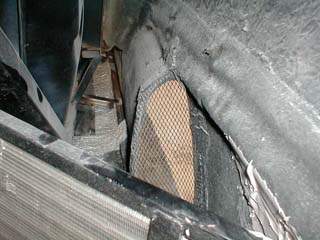
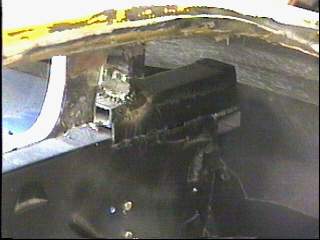
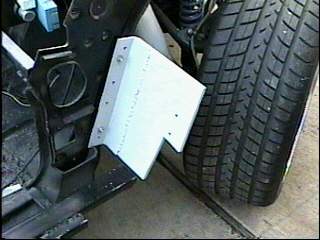
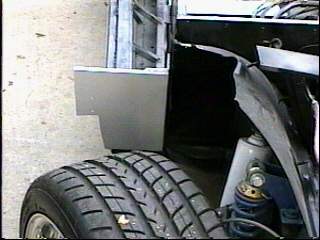
Wheel Wells. I
started by looking at the areas that need to be closed off. I
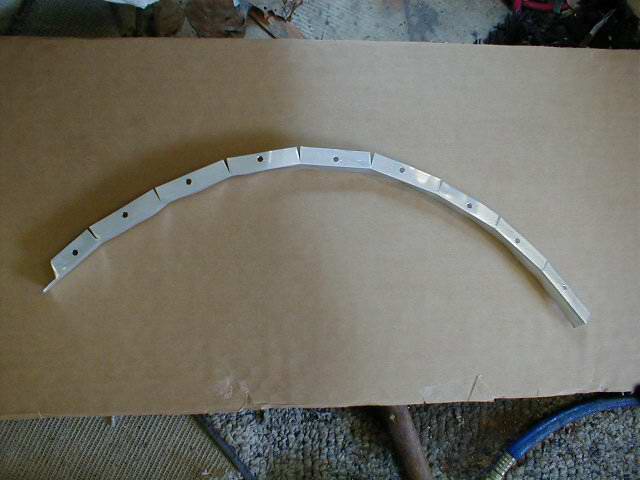
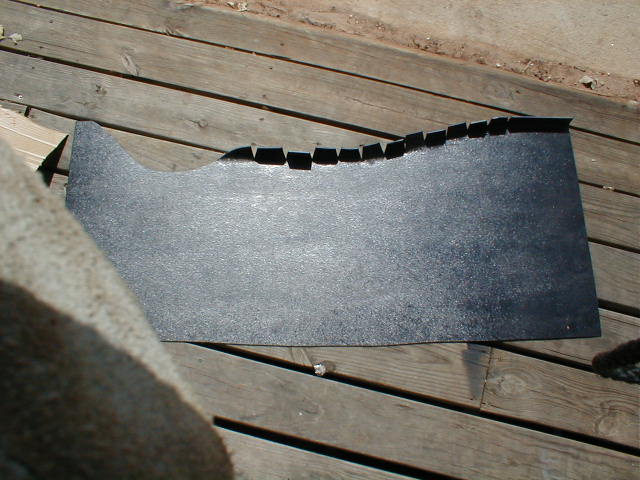
made a arch out of aluminum angle iron that was bondoed and
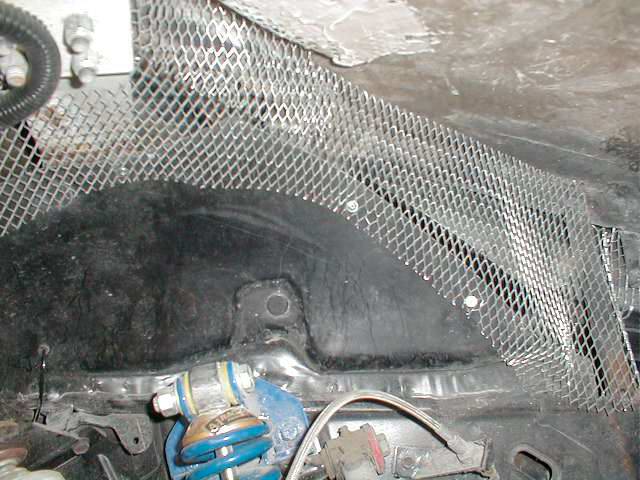
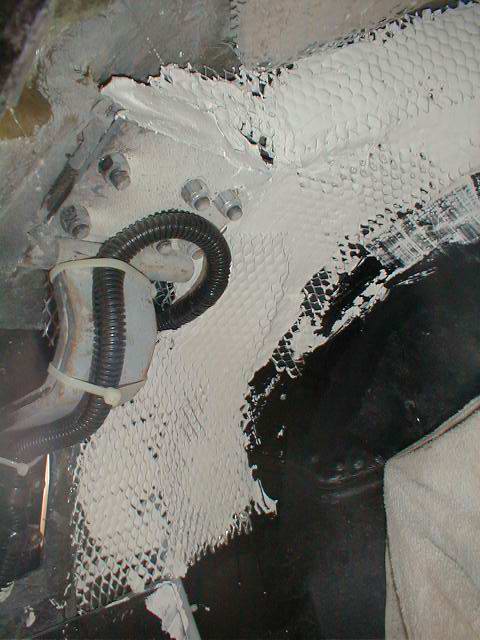
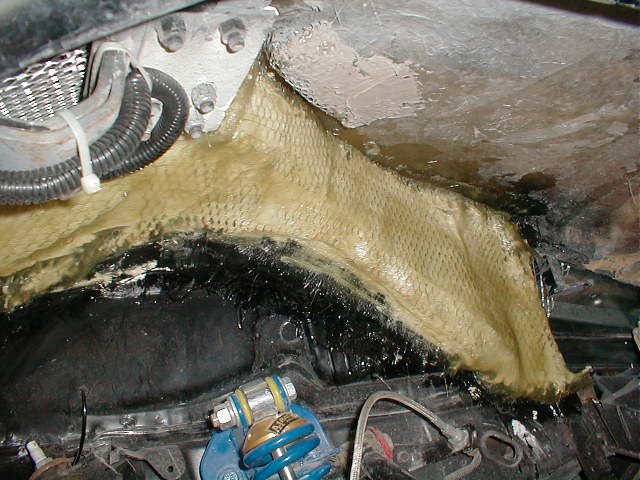
glassed to the inside of the fender. I used a wire mesh to cover
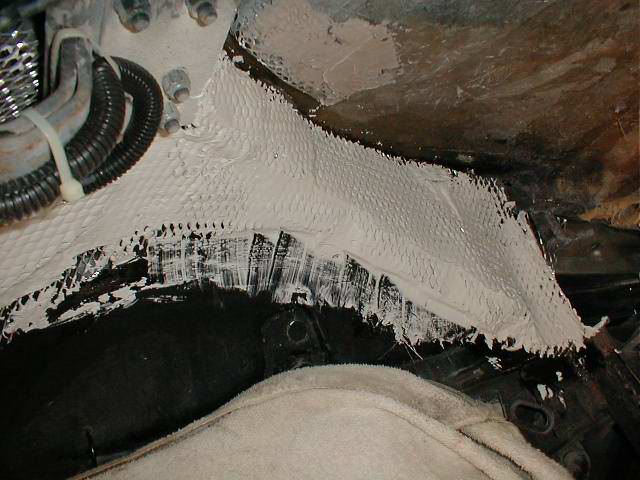
the open areas. I pop riveted it in place. I then used drywall
compound to fill in the mesh area. Once this had dried, I
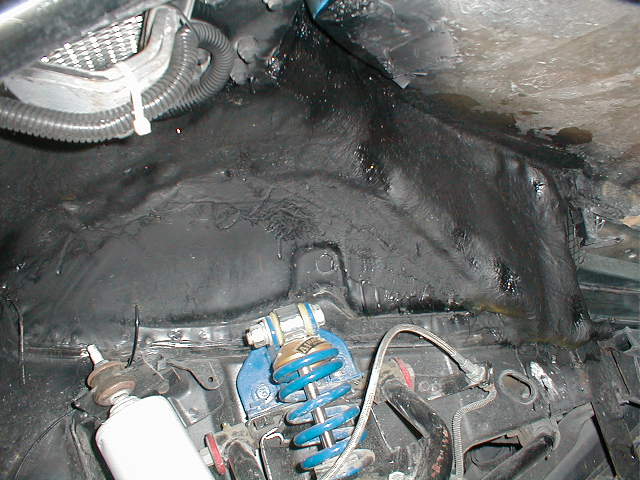
glassed over it to complete the patch. This was then painted
flat black. I then used ABS that was cut and shaped to fit the
inside of the fender well. This was screwed into the aluminum
angle and the inside body panel. Be sure to check the clearance
with the wheel turned in both positions.
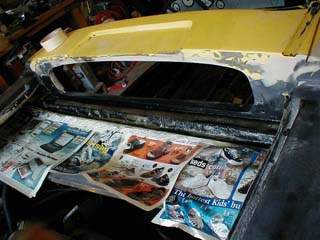
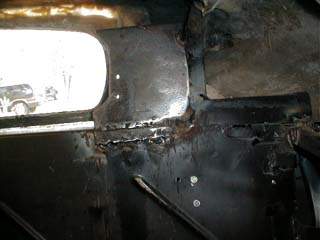
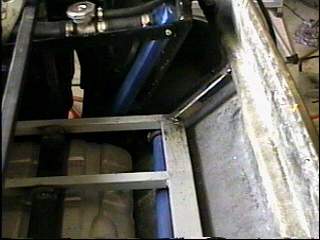
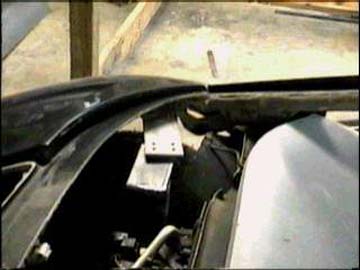
I finished off the rear window by glassing in the lip of
the rear window to the top of the firewall. I then used bondo to fill in
and shape the edge.
I installed two 1/4" plates on eather side of the rear window. These
were tapped ro accept the bolts from the decklid hinges.
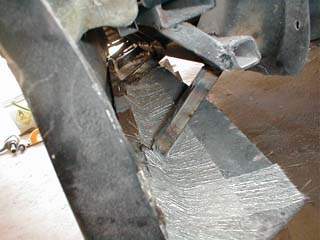
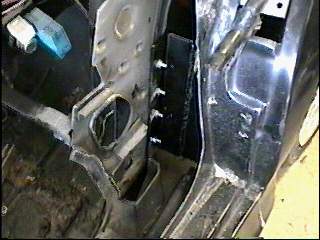
I glassed in the sections that I had cut off to mount the body. This
was accomplished by bracing them in place, cutting matte and then applying
resin. I will finish off the bottom side with Bondo.
I took the big plunge and permanently mounted the body. I started by
running a string from the center line at the back to the centerling at the
front. I then made sure the string lined up with the marks on the body. I
then checked the body in several places to make sure it was level as was
the body.
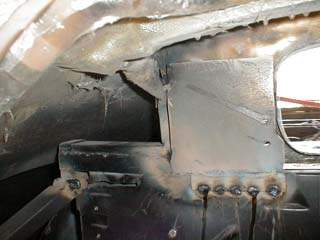
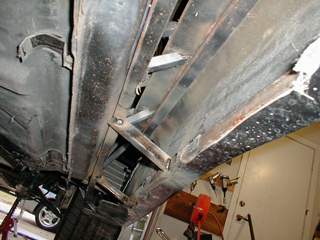
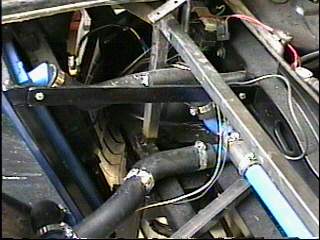
I started mounting by welding the bar at the midpoint to the brace
above the firewall. Then I welded the post from the rear brace to the
trunk floor. The front hinge plates were welded to the posts in the trunk
area. A 1" rod was welded to the top between the two front posts.
The door shock plates were bolted into place on each side. The side panels
were tied into the support from the body to the tube that had been glassed
into the rocker pannel. This was then tied directly to the body for added
support.
The trunk floor was welded in place and 1" tube welded from the trunk
floor to the back of the car.
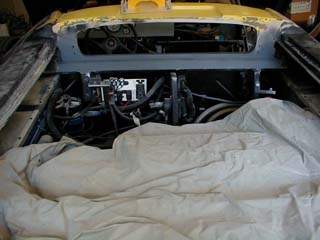
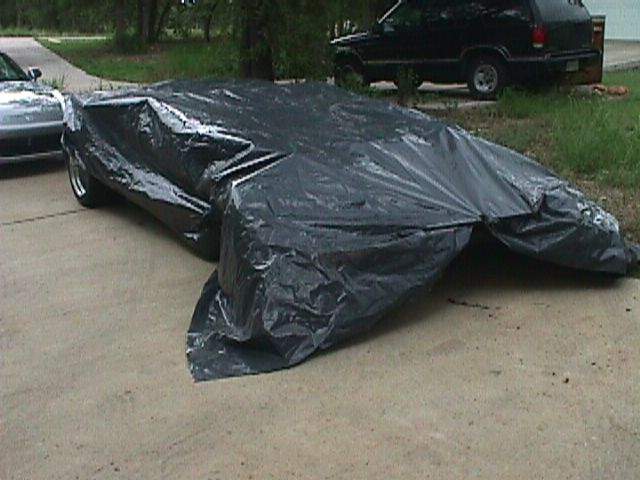
Before I mounted the body, I made a rolling cart that I could use to
move the car outside to sand on it. The picture on the right is my car
cover. It has been raining in the last month and this worked out just
fine. Key is to make sure it is stretched tight or you end up with pools
of water in the plastic.
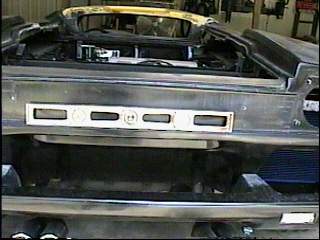
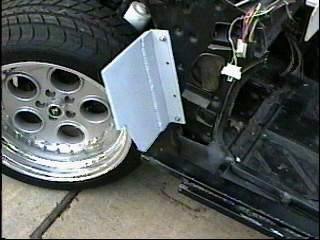
After removing the body again, I was able to mount the plates that
will be used to support the shock plates. They are bolted through the side
pannels. I will need to remove them to mount the body again but now all
the holes are drilled and can be fitted after the body is mounted again.I
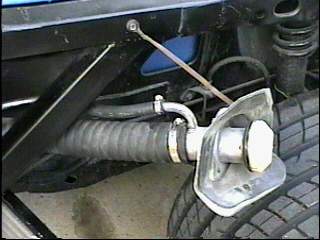
also attached the filler cap, vent house and grounding strap to the gas
filler housing.
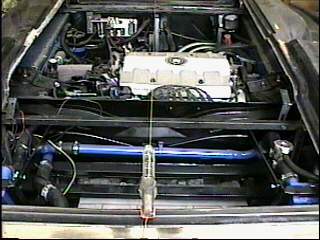
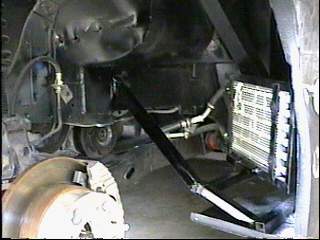
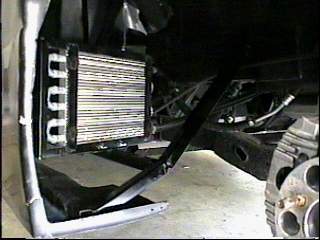
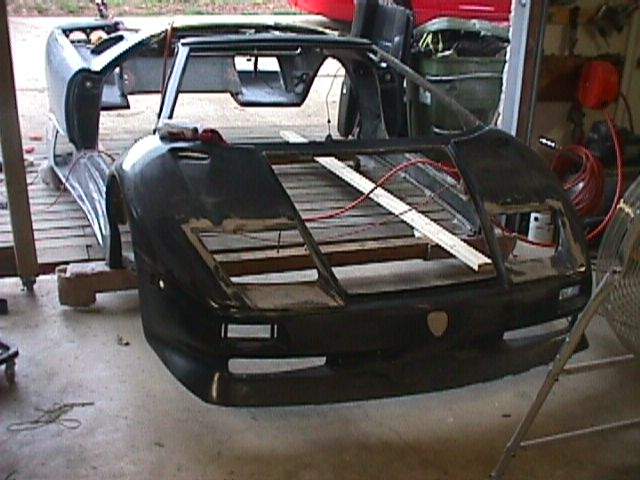
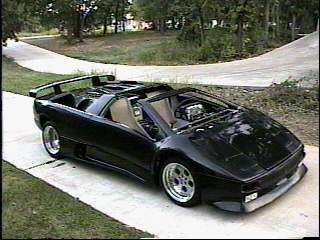
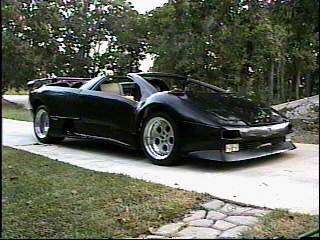
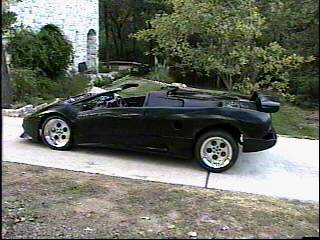
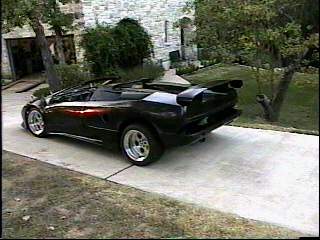
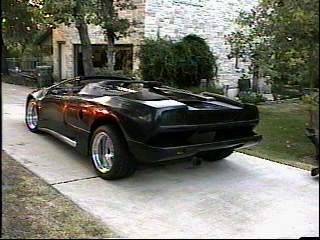
I mounted the body and put the radiators on so I could take it to the
muffler shop to get new mufflers installed. Also figured out the A/C
wiring and plan on having the A/C hoses mated and system charged. I will
go with the R-134 as I will eventually have to go to that anyway.
Estimates: $600 mufflers, $400 A/C. All the pannels are just set
inplace and what I took to the Muffler shop just had the shell on it. Even
at that I still had a crowd. Can't imagine what it will be like when its
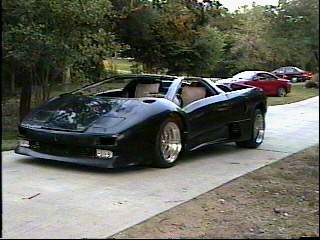
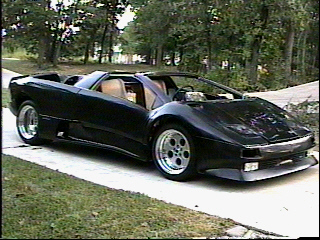
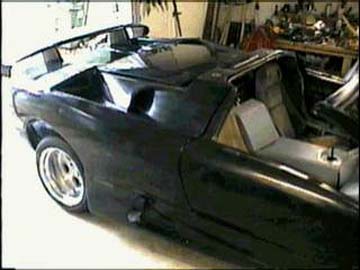
finished. The second set of photos shows the car without the wing. It
looks good either way.
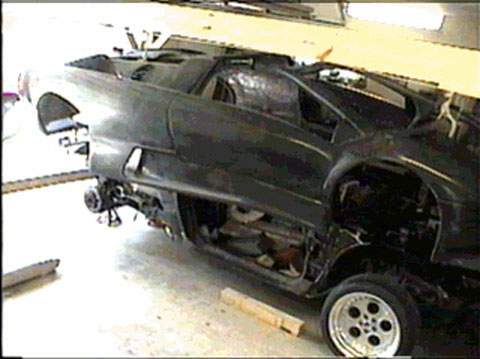
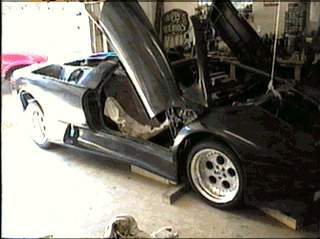
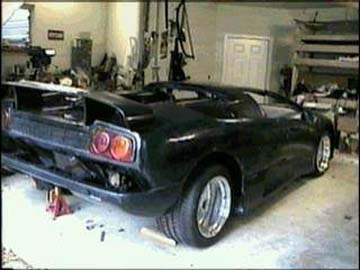
First time the body was mounted. Test fit, no supports had been
attached to the car at this time.
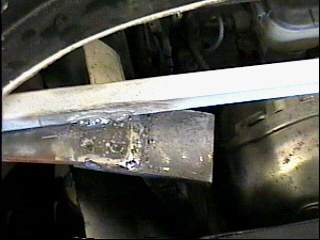
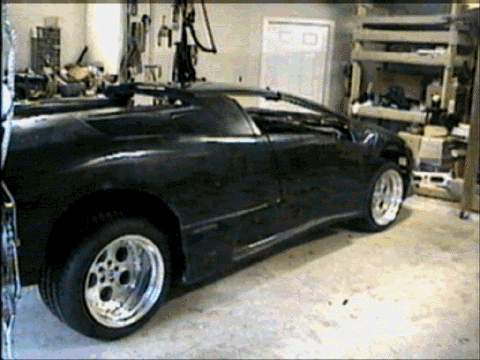
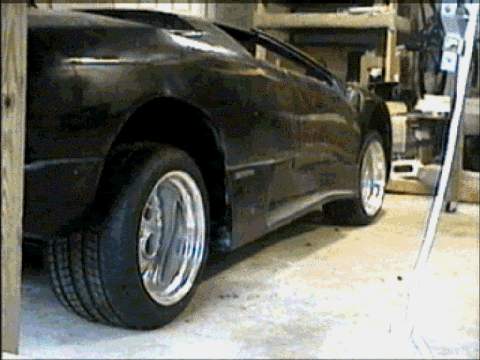
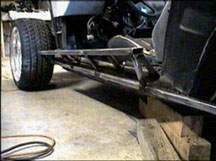
The body is actually supported on either side of the car on a rail
that is fabricated and attached to either side of the car. The flat
1x3 tube that fits under the door is best positioned when the body is
temporarily positioned in place. I then tack welded the tube in place and
then removed the body. It is necessary to trim part of the flange
off of the bottom to clear the rail. This can easily be glassed back
in after the body is finally in place.
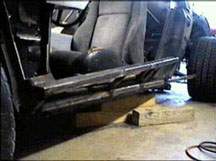
The 1x3 tube is welded to 1 inch tube that is welded to
the door frame. A second 1 inch tube is welded along the bottom of
the door frame and extends back towards the rear wheel. This will be
used later for tieing in the body. These two tubes are connected with 3/4"
tubes that are cut and welded for additional suport.
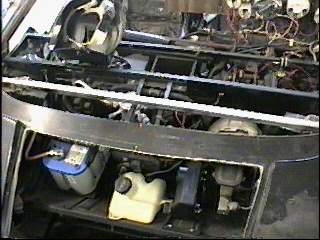
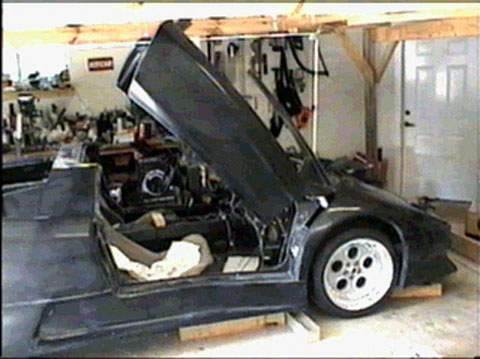
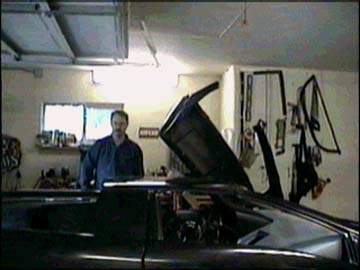
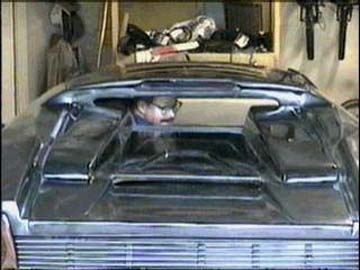
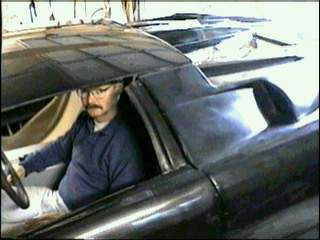
I've had multiple inquiries about the headroom in the roadster. I am
5'10" and as you can see that I have a close fit. I am sitting in the
stock fiero seat and the one with the kit will actually give me some
additional headroom